

How to Set Up an eSIM on Your Smartphone
Setting up an eSIM on your smartphone is one of the easiest ways to stay connected while traveling abroad. Instead of buying a physical SIM card, waiting in airport queues, or paying expensive roaming fees, you can install your eSIM digitally and start using mobile data as soon as you arrive at your destination. Whether you use an iPhone or Android device, this guide will show you how to set up an eSIM step by step, activate your travel data, and avoid common installation mistakes.
“The best time to install your eSIM is before your trip. Once your eSIM is ready, you can land, turn on mobile data, and start using maps, messages, apps, and travel services immediately.”
What Is an eSIM?
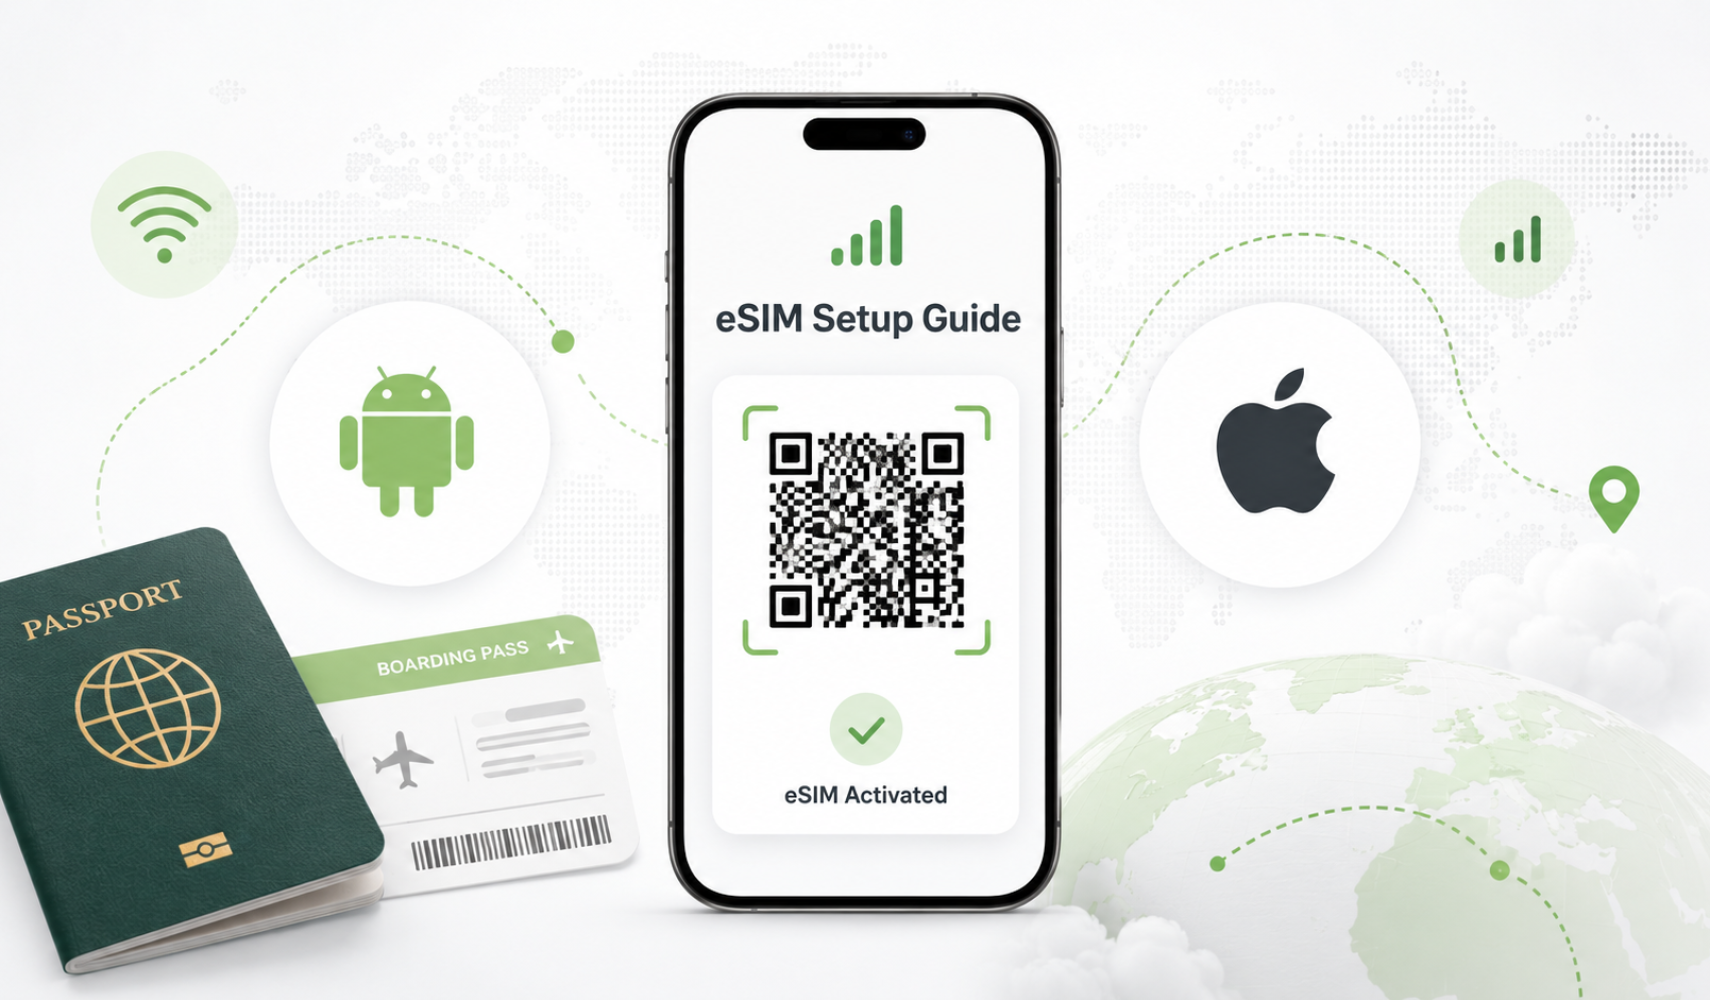
An eSIM is a digital SIM built into your smartphone. It works like a physical SIM card, but you do not need to insert or remove anything from your device. Instead, you install the eSIM by scanning a QR code or entering activation details manually. For travelers, eSIM technology is especially useful because you can buy a prepaid data plan before your flight, install it in minutes, and connect to a local or regional network when you arrive. With eSIMstep, you can browse available eSIM destinations, choose the right plan, and prepare your phone before your trip begins.
Before You Start: Check These 3 Things
Before installing an eSIM, make sure your smartphone supports eSIM, your device is unlocked, and you have a stable Wi-Fi connection during installation. You should also keep your eSIM QR code or manual activation details ready. It is usually best to install the eSIM before traveling, but activate mobile data only when you arrive at your destination, unless your plan instructions say otherwise.
How to Set Up an eSIM on Android
Android eSIM setup may look slightly different depending on your phone brand and Android version, but the process is usually very similar. On most Android devices, you need to open your settings, go to network settings, add an eSIM, scan your QR code, and enable the eSIM for mobile data. The guide below shows the general Android eSIM installation steps.
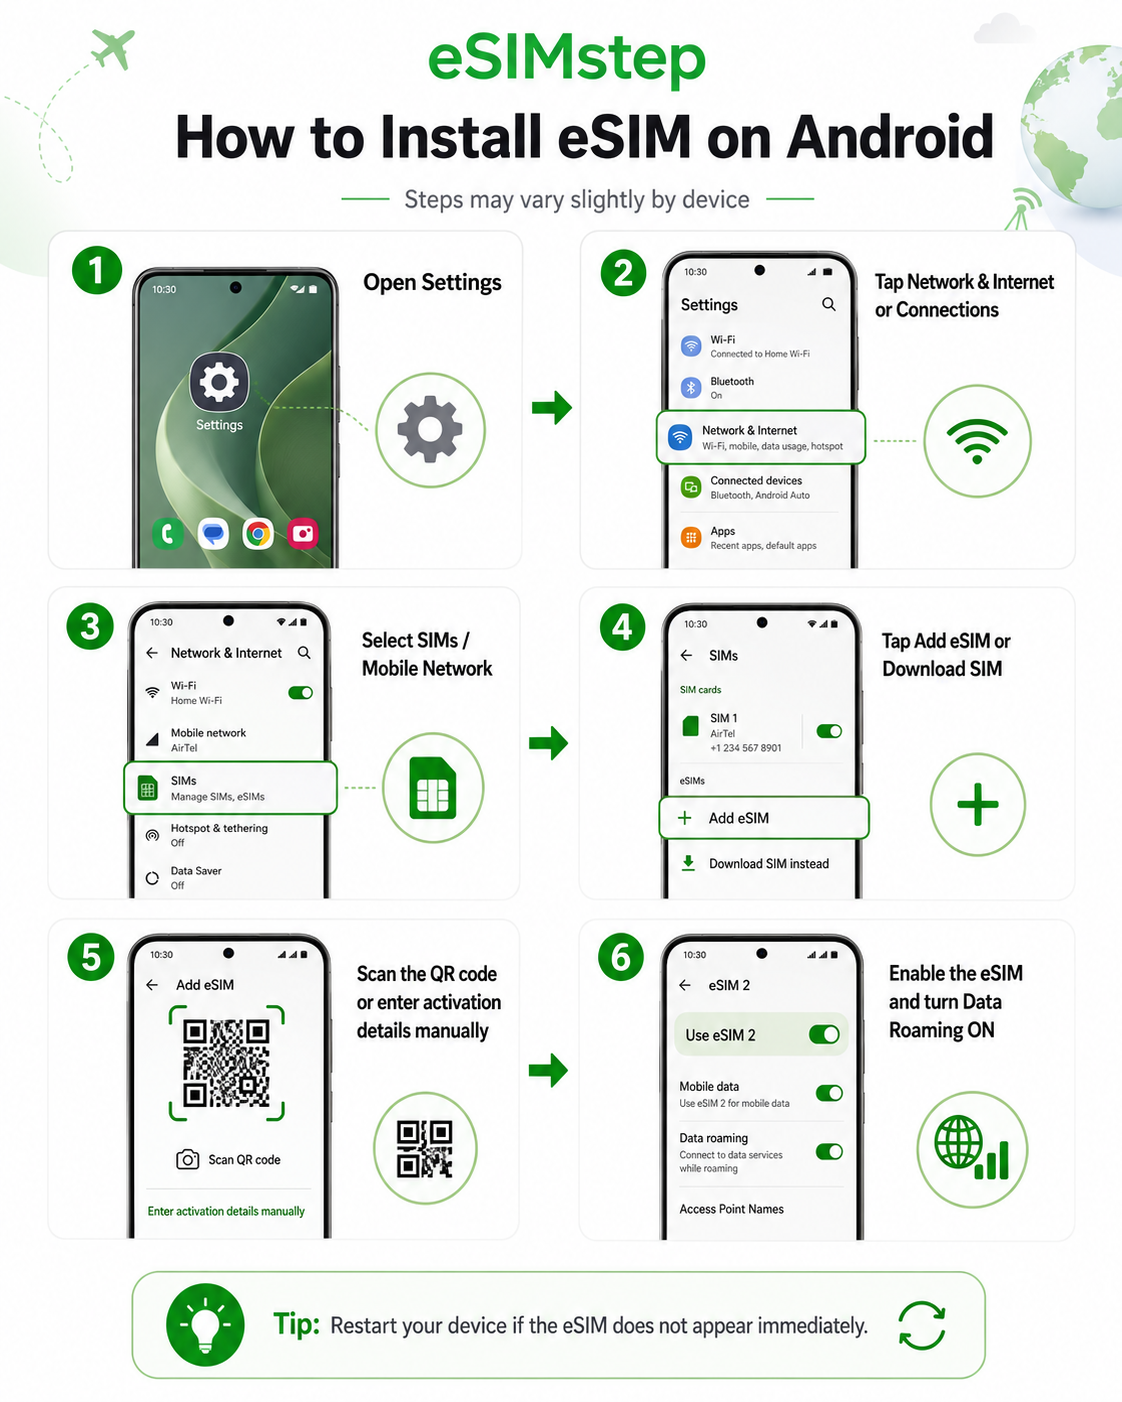
To install an eSIM on Android, open Settings, tap Network & Internet or Connections, select SIMs or Mobile Network, then choose Add eSIM or Download SIM. Scan the QR code provided after your eSIM purchase or enter the activation details manually. After installation, enable the eSIM and turn Data Roaming ON if required for your travel plan.
Android eSIM Setup Steps
Open Settings on your Android phone. Go to Network & Internet, Connections, or a similar mobile network menu. Select SIMs or Mobile Network. Tap Add eSIM or Download SIM. Scan your eSIM QR code or enter the activation details manually. Once the eSIM is added, select it as your mobile data line for travel and enable data roaming if your eSIM plan requires it.
How to Set Up an eSIM on iPhone
Installing an eSIM on iPhone is simple and usually takes only a few minutes. Apple devices use the Cellular or Mobile Data settings menu for eSIM installation. Once your eSIM is installed, you can choose it as your mobile data line and keep your primary SIM for calls, texts, or personal use if needed.
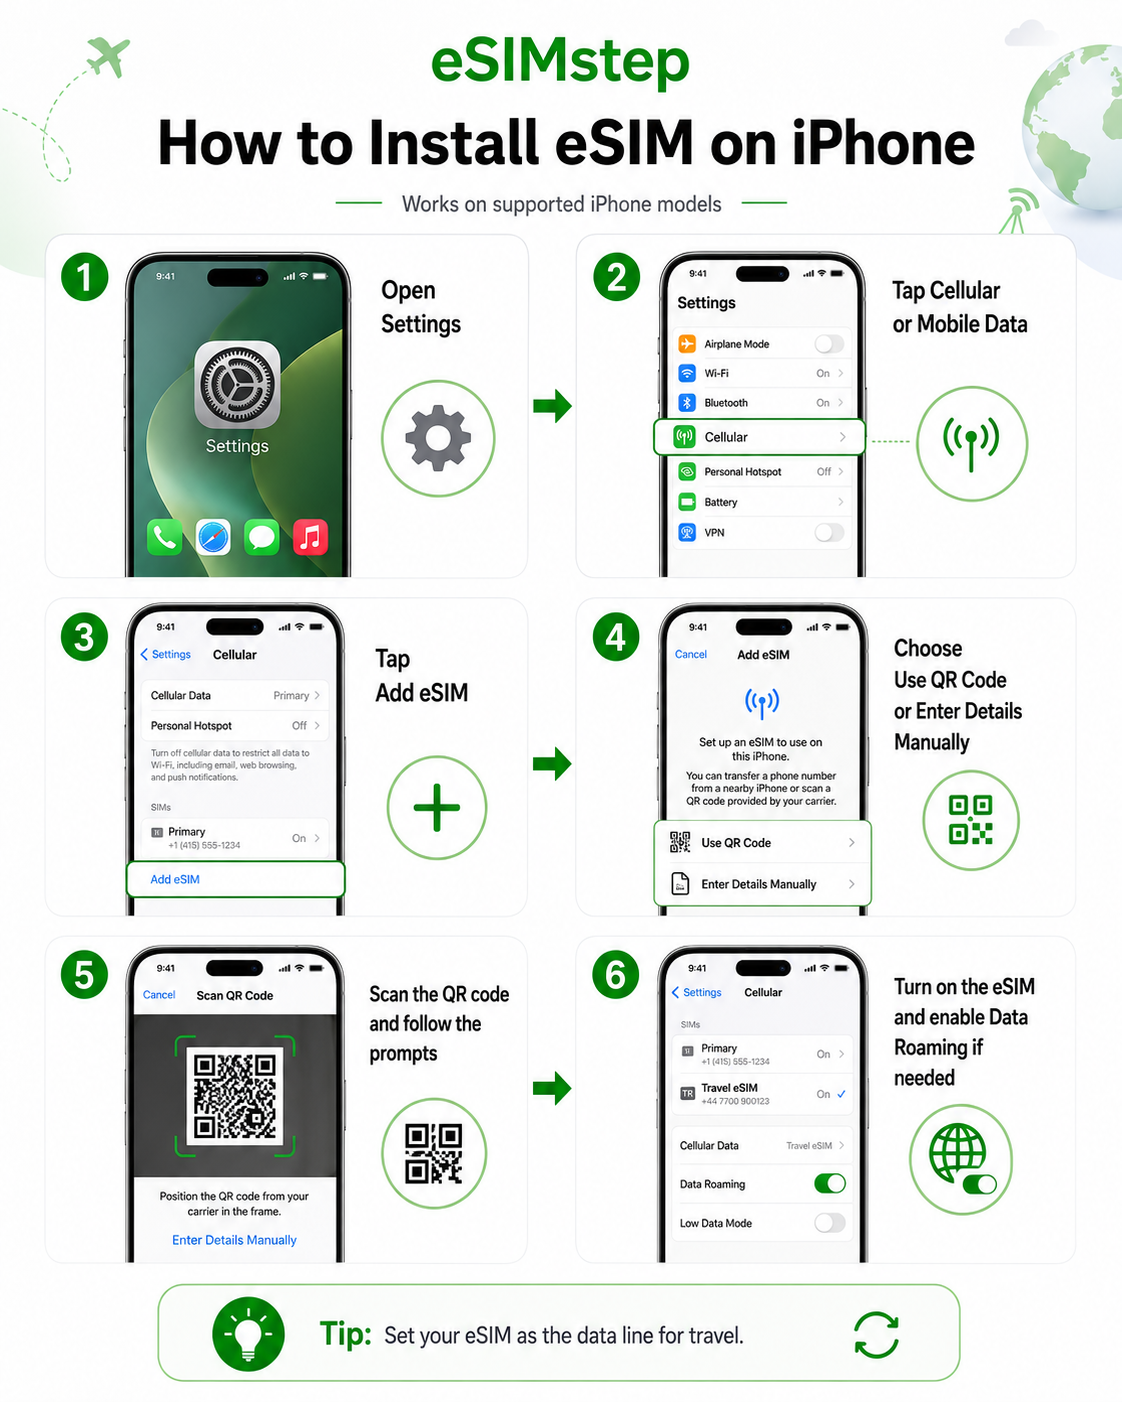
To install an eSIM on iPhone, open Settings, tap Cellular or Mobile Data, then tap Add eSIM. Choose Use QR Code and scan the QR code provided with your eSIM order. You can also select Enter Details Manually if you received manual activation information. After installation, choose your travel eSIM for mobile data and enable Data Roaming if required.
iPhone eSIM Setup Steps
Open Settings on your iPhone. Tap Cellular or Mobile Data. Select Add eSIM. Choose Use QR Code or Enter Details Manually. Scan your eSIM QR code and follow the on-screen prompts. When the eSIM is installed, set it as your mobile data line for travel. If your plan requires roaming, turn on Data Roaming for the eSIM line.
Should You Install Your eSIM Before or After You Travel?
In most cases, it is better to install your eSIM before your flight while you still have a stable Wi-Fi connection. This gives you time to complete the setup calmly and check that the eSIM appears on your device. However, you should usually wait until you arrive at your destination before turning on the eSIM for mobile data, especially if your plan validity starts when it connects to a supported network. Always follow the activation instructions provided with your eSIM plan.
Why Data Roaming May Need to Be Turned On
Many travel eSIM plans connect through partner networks in the destination country. Because of this, your phone may need data roaming to be enabled for the eSIM line. This does not mean you are using expensive roaming from your home carrier. It simply allows your travel eSIM to connect to the supported local network. Make sure data roaming is turned on only for your eSIM travel line, not accidentally for your primary SIM if you want to avoid carrier roaming fees.
Common eSIM Setup Problems and Quick Fixes
If your eSIM does not appear immediately, restart your device and check again. If the QR code does not scan, increase your screen brightness or enter the activation details manually. If your eSIM is installed but mobile data does not work, make sure the eSIM is selected as the mobile data line, data roaming is enabled for that eSIM, airplane mode is off, and you are located in a supported destination. If the signal is weak, try restarting your phone or manually selecting a supported network from your mobile network settings.
Use eSIMstep Calling When Data Alone Is Not Enough
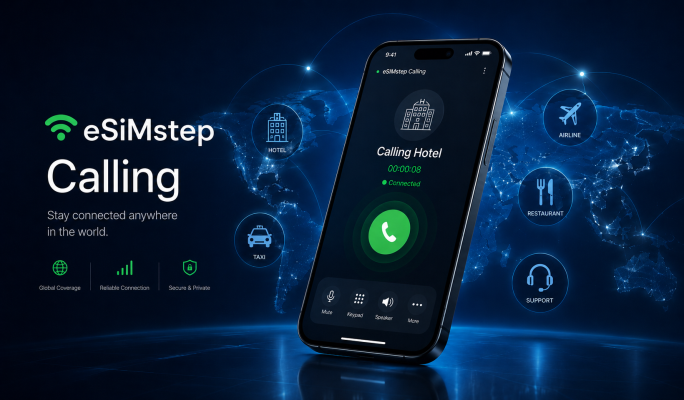
A travel eSIM helps you use maps, messaging apps, email, translation tools, hotel apps, and transport services. But sometimes travelers need to call a real phone number. You may need to call your hotel, hostel, taxi driver, airline, university office, clinic, restaurant, or local support line. With eSIMstep Calling, you can make app-based calls to real numbers over your data connection, giving you more flexibility than a data-only eSIM.
Choose the Right eSIM Plan for Your Destination
Before installing your eSIM, choose a plan that matches your destination and travel style. If you are visiting one country, a country plan may be enough. If you are traveling across multiple countries, a regional plan may be more practical. eSIMstep offers country, regional, and global options for travelers who want a simple way to stay connected abroad. Visit the eSIMstep destinations page to find the right plan for your next trip.
Final Tips for a Smooth eSIM Setup
Install your eSIM while connected to Wi-Fi, keep your QR code safe, do not delete your eSIM unless you are sure you no longer need it, and restart your phone if the eSIM does not appear immediately. When you arrive at your destination, select your eSIM as the mobile data line, turn on data roaming for the travel eSIM if required, and test your connection by opening a website or map app.
Set Up Your eSIM Before You Fly
Setting up an eSIM on your smartphone is simple when you follow the right steps. Whether you use Android or iPhone, the process usually takes only a few minutes: open settings, add your eSIM, scan the QR code, choose the eSIM for mobile data, and enable data roaming if needed. With eSIMstep, you can prepare your travel connection before your trip, avoid physical SIM card stress, reduce roaming costs, and arrive ready to use your phone from the first moment abroad.